Affiliate marketing is one of the most accessible ways to build an income online — but "accessible" doesn't mean "easy." The difference between affiliates who quit after a month and those who build sustainable revenue streams almost always comes down to one thing: a structured plan.
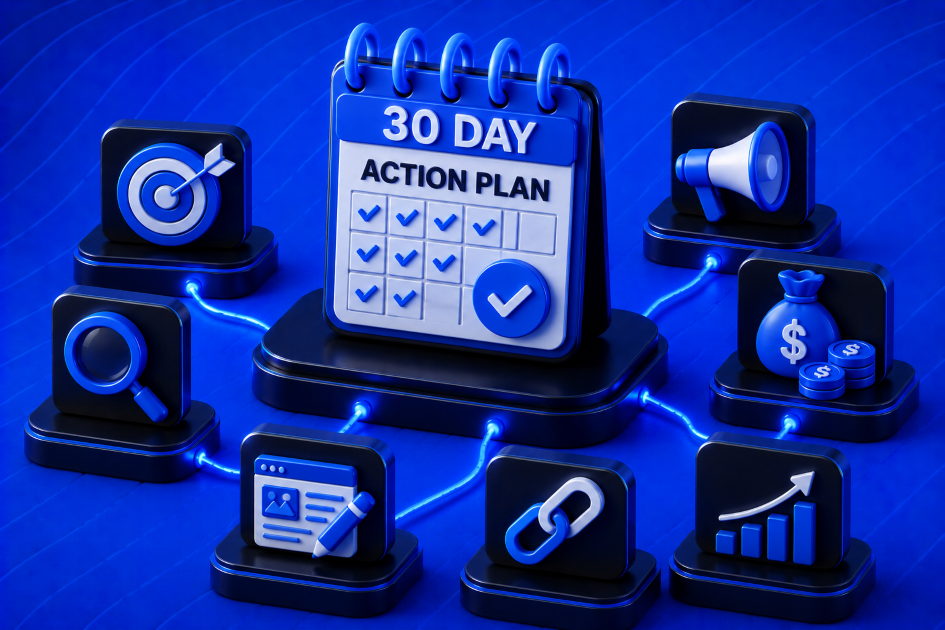
This guide gives you exactly that. A concrete, day-by-day action plan for your first 30 days — covering niche selection, traffic sources, offer research, campaign setup, and optimization. Follow it and you won't just survive your first month; you'll have the data and foundation to scale.
Before You Start: The Affiliate Marketing Reality Check
Let's be direct. In month one, your goal is not to make a fortune. Your real goals are:
- Understand how the ecosystem works end-to-end
- Pick a viable niche and traffic source combination
- Launch at least one live campaign
- Collect real data and learn from it
Profitable campaigns come from iteration. Your first month is about building the infrastructure for that iteration.
Week 1 (Days 1–7): Research, Foundations & Network Access
Day 1 — Understand the Ecosystem
Before touching any tools or networks, spend Day 1 learning how the money flows.
The four players in affiliate marketing:
| Player | Role |
|---|---|
| Advertiser | Owns the product/service; pays for results |
| Affiliate Network | Connects affiliates to offers; tracks conversions |
| Publisher (You) | Drives traffic; earns commissions |
| End User | Clicks, converts, and completes the offer |
Your job as a publisher is to profitably connect users with offers. The network (like LeadGid) sits in the middle, providing offers, tracking, and payouts.
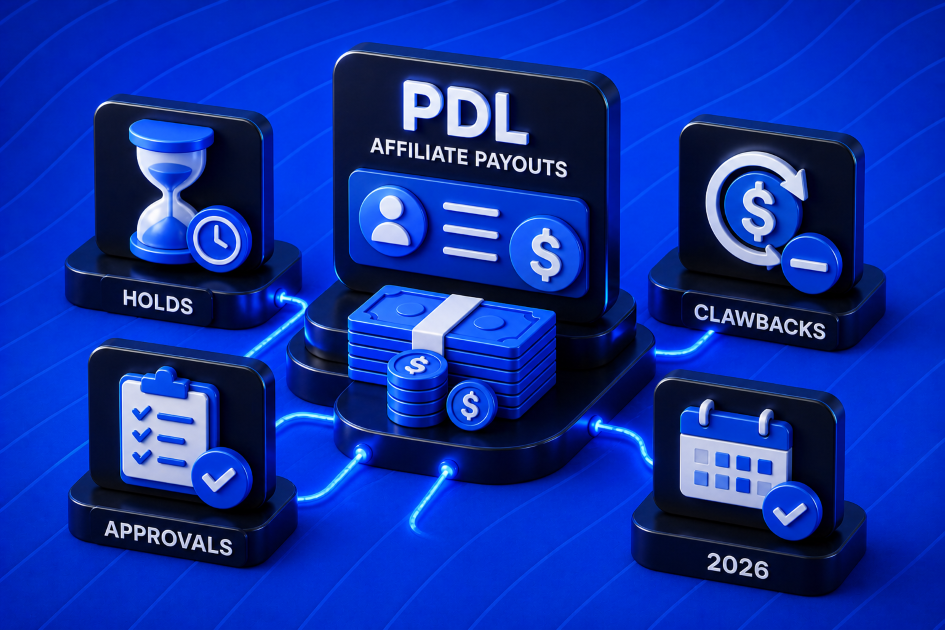
Action: Read through the LeadGid knowledge base, study payout models (CPA, CPL, RevShare), and understand the difference between verticals like finance, e-commerce, nutra, and iGaming. For a detailed breakdown of how CPA and CPL payouts actually work — including holds, clawbacks, and approval rates — read How PDL Affiliate Payouts Work: Holds, Clawbacks, Approvals 2026.
Day 2 — Choose Your Niche
Niche selection is the single most consequential decision you'll make this month. A bad niche with a great strategy rarely wins. A good niche with an average strategy can still pay.
High-performing niches for beginners in 2025–2026:
- Finance (loans, credit cards, insurance) — High CPAs, strong advertiser demand, measurable intent signals
- iGaming (casinos, sports betting) — High volume, competitive but scalable with the right GEOs
- Nutra/Health — Strong emotional drivers; requires careful compliance awareness
- E-commerce — Lower per-conversion payouts but high volume potential
Niche selection criteria:
- Personal familiarity — Can you speak credibly to this audience?
- Traffic availability — Are there affordable traffic sources for this vertical?
- Offer availability — Does LeadGid (or your chosen network) have offers in this space?
- Competition level — Can you find an angle that isn't saturated?
Action: Narrow your focus to one niche. Write down three reasons why you chose it.
Day 3 — Choose Your Traffic Source
Your niche and traffic source must be compatible. Here's a compatibility matrix for beginners:
| Traffic Source | Best Niches | Startup Cost | Learning Curve |
|---|---|---|---|
| Facebook/Meta Ads | Finance, Nutra, E-commerce | Medium | High |
| Google Ads (Search) | Finance, Insurance, SaaS | Medium-High | High |
| Push Notifications | iGaming, Nutra, Sweepstakes | Low | Medium |
| Native Ads | Finance, Health, News-style offers | Medium | Medium |
| SEO/Content | Any | Low (time cost) | High (time) |
| TikTok Ads | E-commerce, Finance, App installs | Low-Medium | Medium |
For most beginners, push notifications or native ads offer the best balance of low entry cost and teachable mechanics. Facebook is powerful but its compliance restrictions and steep learning curve make it a trap for day-one affiliates.
Go deeper: Not sure which traffic source fits your niche and GEO? The LeadGid blog has a full head-to-head breakdown: Traffic Source Comparison 2026: Telegram vs Facebook vs Native Ads vs SEO.
Action: Pick one traffic source. Open an account on a relevant ad network (e.g., PropellerAds, MGID, Taboola, or similar).
Day 4 — Register on LeadGid & Explore Offers
If you haven't already, register on LeadGid. During the onboarding:
- Be honest about your experience level
- Specify your traffic source — this affects which offers you'll be approved for
- Ask your assigned manager which offers are currently converting well for your traffic type
What to look for in an offer:
- EPC (Earnings Per Click) — A useful benchmark of offer performance for other affiliates
- CR (Conversion Rate) — How often does traffic convert? A high EPC with terrible CR might mean low-quality leads
- GEO targeting — Does the offer's target country match where your traffic comes from?
- Payout model — CPL (cost per lead) offers are usually more beginner-friendly than CPS (cost per sale)
- Restrictions — What traffic sources are allowed? What creatives are prohibited?
Action: Shortlist 3–5 offers that fit your niche and traffic source. Don't commit yet — just research.
Day 5 — Competitive Research
Before spending a dollar, understand what's already working.
Tools for competitive research:
- AdSpy / BigSpy — Spy on Facebook and push ad creatives
- SimilarWeb — Understand competitor traffic sources
- Anstrex / AdPlexity — Native and push ad intelligence
- Google Trends — Seasonality and search volume trends
Look at 10–15 active ads in your niche. Ask yourself:
- What angles are being used? (Fear, curiosity, social proof, urgency?)
- What do the landing pages look like?
- What's the hook in the first line of copy?
You're not copying — you're understanding the market's language.
Note on SEO traffic: If you're planning to build long-term organic traffic rather than run paid campaigns, the fundamentals differ. Check out SEO Optimization Tips for High-Converting Affiliate Sites for a dedicated guide to ranking affiliate content.
Action: Save 5–10 ads and landing pages as references. Note the common patterns.
Day 6 — Set Up Your Tracking
Tracking is non-negotiable. Without it, you're flying blind.
Essential tracking setup:
- Tracker — Set up a dedicated affiliate tracker. Options include Binom, Keitaro, Voluum, or RedTrack. Many offer trial periods.
- Postback/S2S integration — Connect your tracker to LeadGid so conversions fire back automatically
- UTM parameters — Even without a dedicated tracker, use UTMs for basic attribution
What to track at minimum:
- Click ID (to tie traffic to conversions)
- Traffic source / sub-source
- Creative ID (which ad drove the click)
- Landing page variant (if split testing)
- Conversion event and payout
Action: Install your tracker, create your first campaign in it, and generate a test link. Verify that click data is recording correctly.
Day 7 — Review & Plan Week 2
Take stock of Week 1. You should have:
- ✅ A chosen niche
- ✅ A chosen traffic source and account
- ✅ A LeadGid account with shortlisted offers
- ✅ Competitive research notes
- ✅ A working tracking setup
Action: Write a one-page brief. Niche, traffic source, two offers you'll test, and your week 2 goals.
Week 2 (Days 8–14): Build, Launch, and First Data
Day 8 — Choose Your First Offer
From your shortlist, select one offer to launch first. Criteria:
- High advertiser reputation (check reviews on affiliate forums)
- Approved traffic source matches yours
- Competitive payout relative to niche benchmarks
- Your manager's recommendation (seriously — ask them)
Resist the urge to launch multiple offers simultaneously. Focus gives you cleaner data.
Day 9 — Study the Offer & Compliance Rules
Before building anything, read every word of the offer's terms:
- Approved traffic sources
- Prohibited creatives (no fake news, no celebrity endorsement, etc.)
- Geo restrictions
- Device targeting requirements
- Capping rules (daily lead limits per affiliate)
Violating compliance rules gets you banned. Understanding them unlocks angles competitors ignore.
Practical tool: Running paid traffic on Google, Meta, or TikTok? White pages are essential for surviving moderation. Read White Link — a reliable white page service for ad approval and traffic scaling to understand how to set them up and improve approval rates.
Day 10 — Create Your Pre-lander (If Required)
Many offers, especially in finance and nutra, perform significantly better with a pre-landing page between your ad and the offer's landing page. Pre-landers warm up the user, filter intent, and improve conversion rates.
Effective pre-lander formats:
- Quiz/Survey — "Answer 3 questions to see if you qualify"
- News-style article — Mimics editorial content; builds trust
- Comparison page — Positions the offer against alternatives
- Testimonial page — Social proof-heavy with clear CTA
Technical requirements:
- Fast load time (under 2 seconds on mobile)
- Mobile-responsive
- Clear, single call-to-action
- Compliant with both the network's and traffic source's policies
Use simple page builders (Unbounce, Landingi, or hand-coded HTML) to keep things lean.
Day 11 — Create Your Ad Creatives
Based on your Week 1 research, create 3–5 ad variations. Test different angles, not just colors or fonts.
The three angles that consistently work across verticals:
- Problem-aware — Leads with the pain point ("Struggling to get approved for a loan?")
- Curiosity-gap — Teases information ("What banks don't want you to know about credit scores")
- Social proof — Leverages numbers or results ("Over 50,000 people approved last month")
For each angle, write two headline variations. This gives you 6 creatives to test.
Creative checklist:
- Clear value proposition visible in 3 seconds
- CTA button with action-oriented copy ("Check My Rate", "See If I Qualify")
- Compliant imagery (no misleading before/afters, no prohibited claims)
- Correct dimensions for your traffic source
Day 12 — Configure & Launch Your Campaign
Set up your campaign in your ad network:
Budget guidance for first campaigns:
- Start with 3–5x the offer's CPA payout as your daily budget
- If the offer pays $20 CPL, allocate $60–100/day to gather statistically meaningful data
- Don't launch with a $5/day budget — you won't get enough data to optimize
Targeting for launch:
- Broad demographic targeting initially (let the algorithm learn)
- Desktop + mobile split campaign (behaviors differ significantly)
- Target the offer's core GEO only
Connect your tracker, double-check your postback URL is firing, then launch.
Day 13 — Monitor & Don't Touch
Your first 24 hours of live data are precious. Resist the urge to make changes immediately.
What to monitor (not act on yet):
- Impression delivery — Is your ad being served?
- CTR — Are people clicking?
- Landing page bounce rate — Are clicks reaching your pre-lander?
- Early conversion signals — Any leads coming in?
Most campaigns need 48–72 hours before patterns emerge. Changing targeting or bids within the first 12 hours resets the algorithm's learning phase.
Day 14 — First Optimization Pass
After 48+ hours of data, make your first decisions.
Decision framework:
| Metric | Threshold | Action |
|---|---|---|
| CTR < 0.5% (push/native) | Underperforming | Pause ad, try new creative |
| Landing page CVR < 5% | Check UX/load speed | A/B test headline or CTA |
| Offer CVR far below benchmark | Traffic-offer mismatch? | Review targeting, consider different offer |
| ROI > 0% | Early signal | Scale budget gradually |
| ROI deeply negative | Analyze which sub-sources convert | Block bad placements |
Action: Pause the bottom 20% of creatives. Identify your best-performing sub-sources. Document findings.
Week 3 (Days 15–21): Optimize and Scale
Days 15–17 — Blacklist & Whitelist Optimization
By now your tracker has sub-source data. This is where real money is made.
Sub-source management:
- Blacklist any placement that has spent 2x the CPA payout with zero conversions
- Whitelist placements that convert profitably
- Create a whitelist-only campaign targeting your best placements with higher bids
This is the core optimization loop of performance marketing. Most of your volume will eventually come from 20% of your placements.
Days 18–19 — Scale What's Working
When a campaign is ROI-positive, scale it — carefully.
Scaling rules:
- Increase budget by no more than 20–30% every 24 hours
- Watch your CVR as volume increases — it often drops at scale
- Refresh creatives before they fatigue (watch for declining CTR)
- Test similar offers on the same traffic if one is capping out
Days 20–21 — Test a Second Offer or GEO
If your primary campaign is profitable and stable, use part of your budget to test:
- A second offer in the same niche (compare payouts and conversion rates)
- The same offer in a tier-2 GEO (often lower CPCs with comparable conversion rates)
Apply everything you learned in Week 2. The second test will always be faster and smarter.
Level up: Once you have a working funnel, the next unlock is improving lead quality — not just volume. Read 7 Proven Lead Generation Strategies for Affiliate Marketers for a full breakdown of techniques that scale sustainably.
Week 4 (Days 22–30): Analyze, Document, and Plan Month 2
Days 22–25 — Deep Dive into Your Data
Pull a full 30-day report. Calculate:
- Total spend vs. total revenue — Your gross ROI
- EPC by traffic source — Where are clicks most valuable?
- Top-performing creatives — What angle/format dominated?
- Best converting GEOs — Any surprises?
- Offer-level performance — Was your offer choice validated?
Days 26–28 — Build Your Standard Operating Procedures
Document everything. Future-you and any eventual team members will thank you.
What to document:
- Your campaign setup checklist
- Your creative production process
- Your optimization decision framework (when to pause, when to scale)
- Contacts at your affiliate network
- Your compliance review checklist
Days 29–30 — Plan Month 2
With 30 days of real data, your Month 2 plan should be specific:
- Double down on the one campaign that showed the most promise
- Drop anything with no path to profitability
- Expand one new traffic source or one new GEO
- Set a revenue target — not vague ("make money") but specific ("$X in net profit by Day 60")
Planning to go international? Scaling into Tier-1 and Tier-2 markets is one of the highest-leverage moves for affiliates who've validated their first campaign. Start with How to Work with International Traffic in 2026: Best GEOs & Strategy — it covers which markets make sense for beginners and what you need to change in your approach.
Your 30-Day Milestone Checklist
Use this as your master progress tracker:
- Niche selected and documented
- Traffic source account active
- LeadGid account approved with offers shortlisted
- Competitive research completed (5+ ad references saved)
- Tracker installed and verified
- First pre-lander built and tested
- 3–5 ad creatives live
- First campaign launched with correct postback
- 48+ hours of data collected
- First optimization pass completed
- Blacklist/whitelist campaign created
- At least one ROI-positive session documented
- Full 30-day report pulled
- SOPs written
- Month 2 plan written
Common Mistakes to Avoid in Month 1
1. Spreading too thin Picking three niches, four traffic sources, and ten offers simultaneously. Do less, learn more.
2. Skipping the tracker "I'll set it up later" means you have no data. No data means no optimization. Set it up on Day 6.
3. Changing campaigns too fast Give your campaigns time to generate data. 24 hours is not enough. Patience is a competitive advantage.
4. Ignoring AI tools Manual campaign management takes hours. Modern affiliates use AI for creative generation, data analysis, and GEO-specific localization. See which tools are actually worth your time: 5 AI Tools That Actually Help Affiliates Earn More.
4. Ignoring your affiliate manager Your LeadGid manager sees conversion data across hundreds of affiliates. They know what's working. Build that relationship.
5. Confusing spending with investing Ad spend is not a cost — it's a data purchase. Every dollar teaches you something. Budget accordingly, but don't be afraid to spend.
Final Thought
The affiliates who succeed aren't necessarily the most creative or the most technical. They're the most systematic. They test methodically, document obsessively, and make decisions based on data rather than gut feeling.
Your 30-day plan is designed to build exactly that habit. Not just to generate your first commissions — but to install the operating system of a serious performance marketer.
Now close this tab and go execute Day 1.
Ready to find your first offer? Browse high-converting finance, iGaming, and e-commerce offers on LeadGid.com and speak with an affiliate manager today.
Continue reading:
- Affiliate Marketing Without a Website: Step-by-Step Guide — Run campaigns via TikTok, Telegram, or Facebook without owning a domain
- 7 Proven Lead Generation Strategies for Affiliate Marketers — Scale from your first campaign to a full lead gen system
- How to Work with International Traffic in 2026: Best GEOs & Strategy — Your roadmap to going global after month one
- Traffic Source Comparison 2026: Telegram vs Facebook vs Native Ads vs SEO — Pick the right channel for your niche and budget